
Visual Studio Enterprise Live Unit Testing
As of this writing, only the Enterprise edition of Visual Studio includes a feature called Live Unit Testing.
This feature will automatically run unit tests in the background as we write our code, providing real-time feedback on the impact of our changes.
Here’s a quick introduction to how to get started with this feature!
Example project
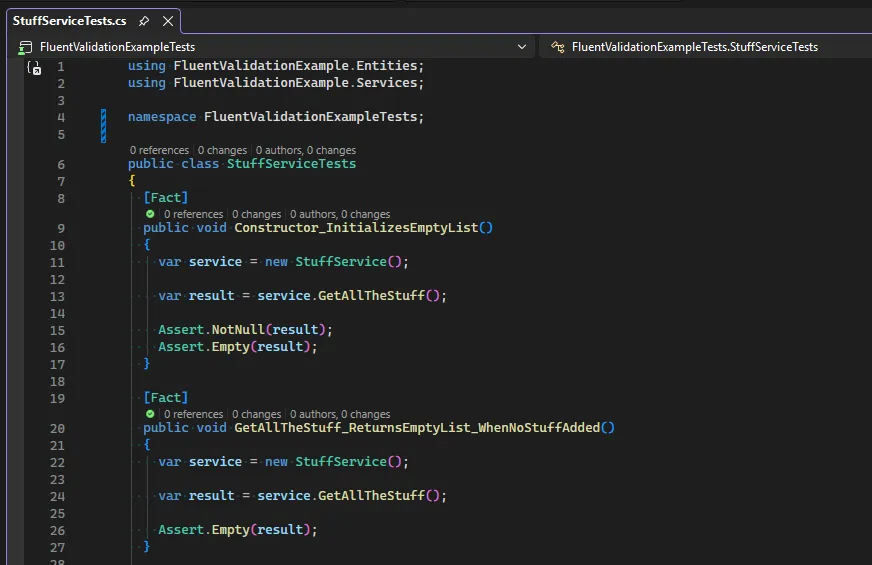
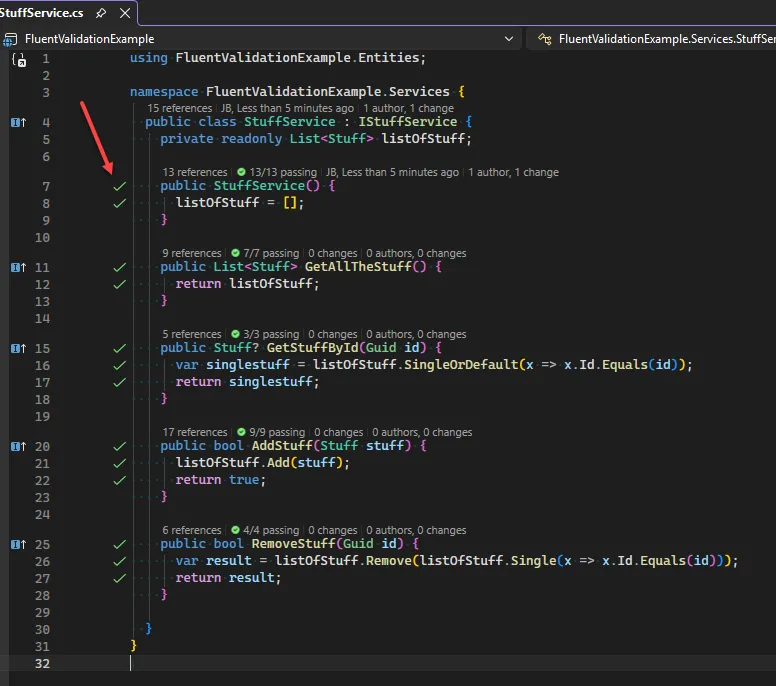
I’ll be using a simple dotnet project to demonstarte this feature. It contains a simple class called StuffService which will allow us to add, remove and get stuff from a list:

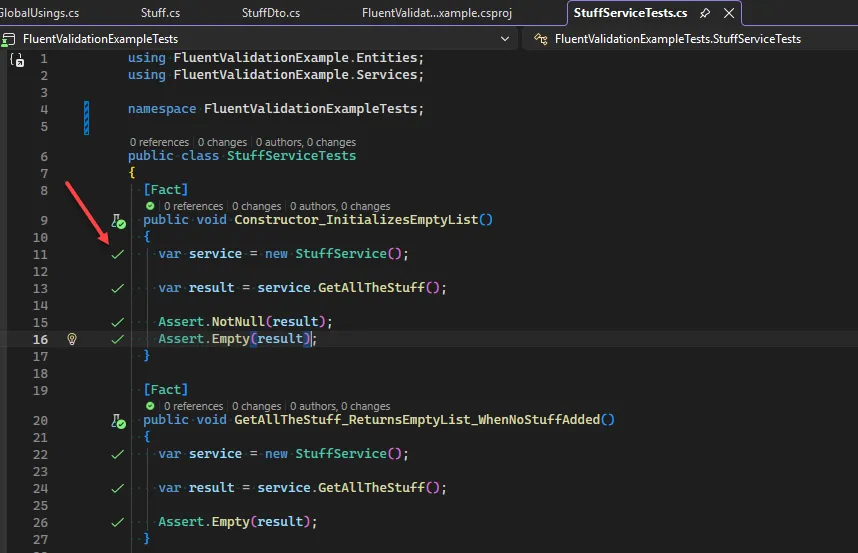
The project also contains a set of unit tests to verify the functionality of the StuffService class:
Enabling Live Unit Testing
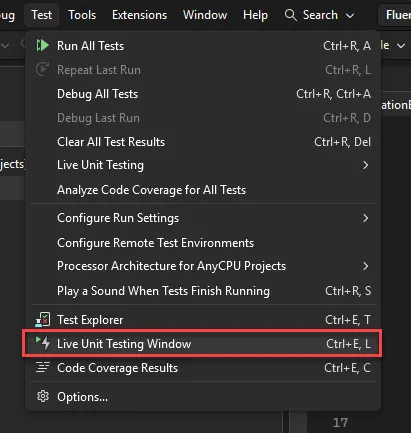
Start by going to the Test menu in Visual Studio and opening the Live Unit Testing Window:
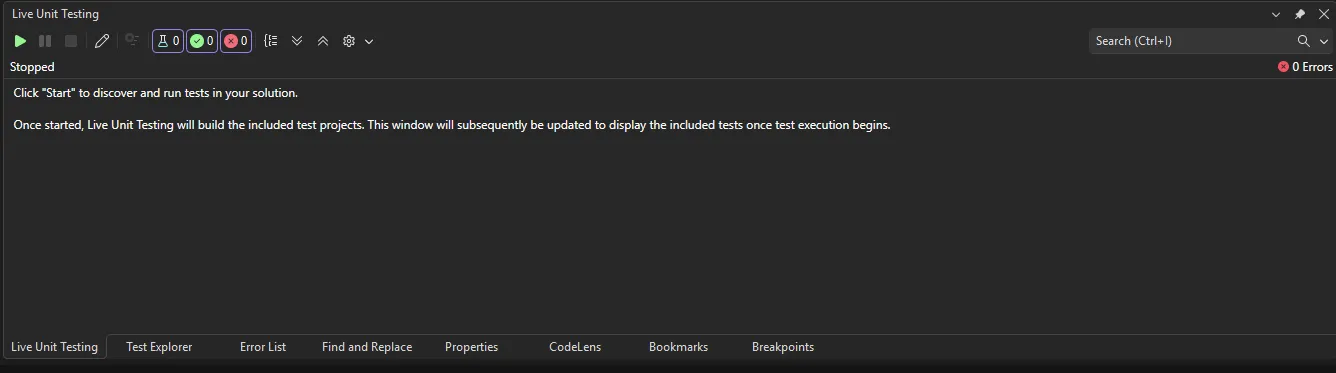
This will open the window where we can start Live Unit Testing by clicking the Play button:
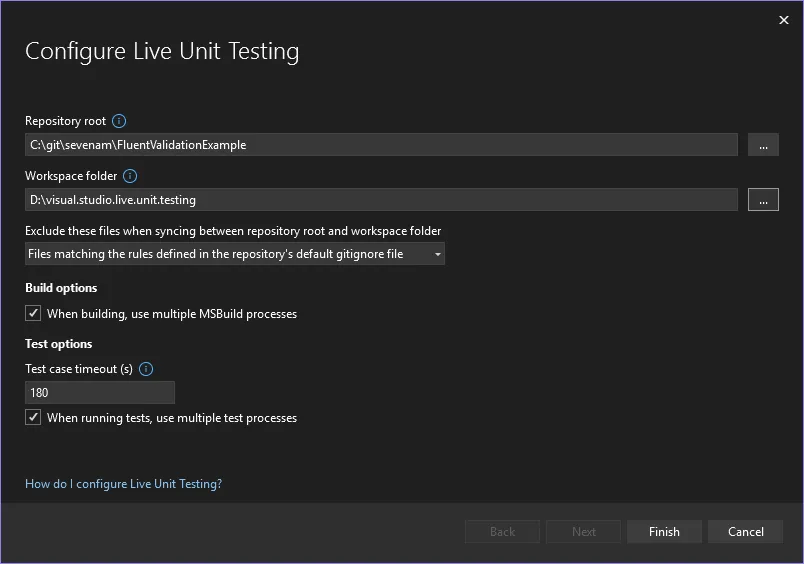
As we press the Play button a configuration window pops up, and we’re required to configure the live unit test settings. These settings are normally OK out of the box, however I chose to select a different Workspace folder:
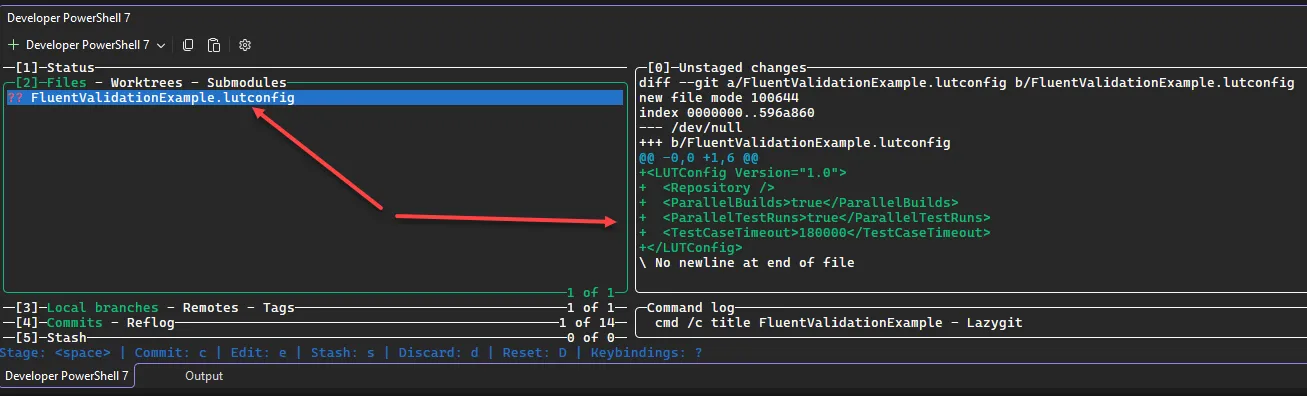
This configuration will be saved to an xml file in our solution folder called <solutionname>.lutconfig:
Running Live Unit Testing
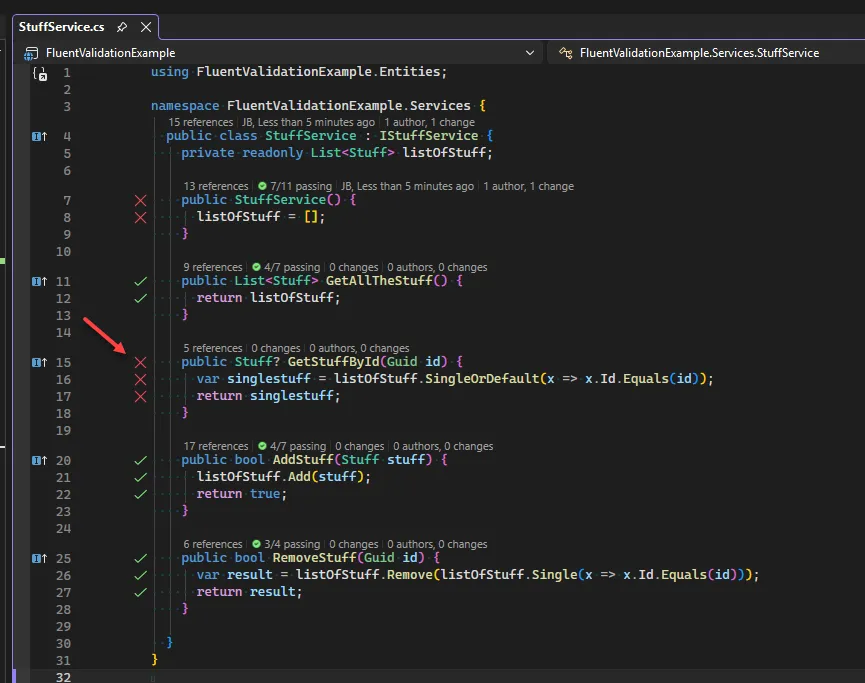
Once Live Unit Testing is running, it will automatically run the unit tests in the background (as we save the files) and provide feedback directly in the code editor. As we can see in the screenshot below, the green checkmarks indicate that the tests are passing:
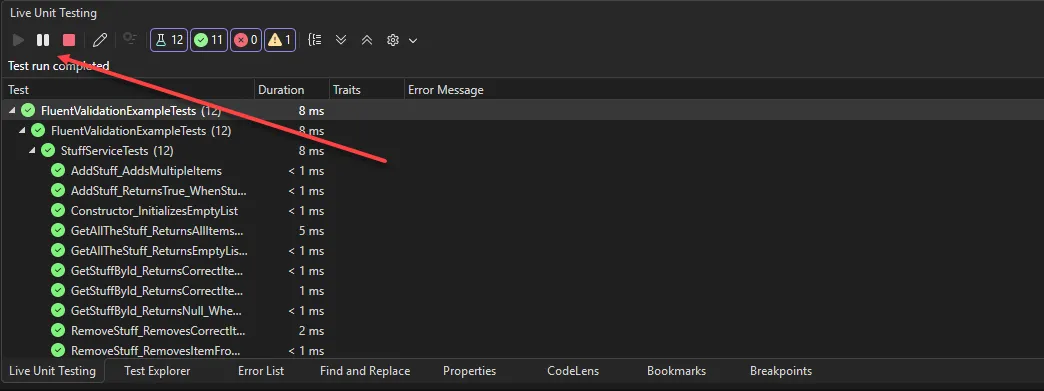
Additionally we can see the check marks in our test methods as well:
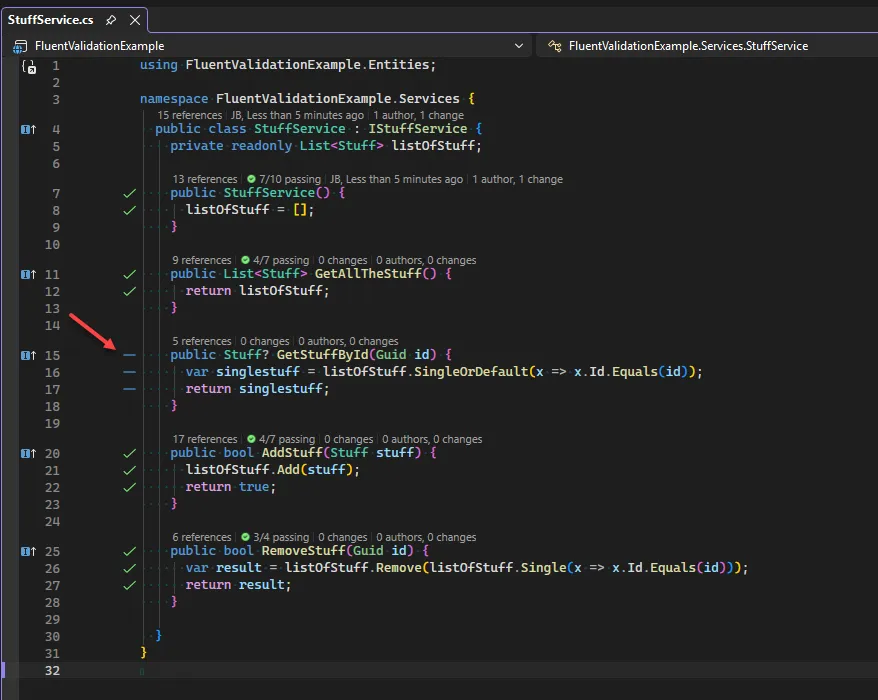
If there are lines of code that are not covered however, they’ll be indicated by a dash, allowing us to quickly identify untested code:
And if a test is failing, it’ll be indicated by a red cross:
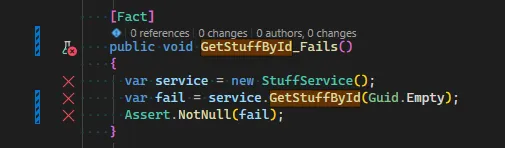
We get the same experience as we are writing the tests as well:
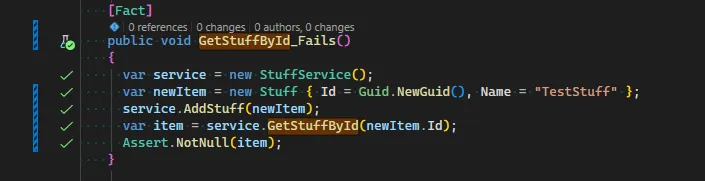
And as we fix the test, we can see it turn green:
If we want to stop Live Unit Testing, we can simply click the Stop or Pause buttons in the Live Unit Testing window:
Skipping tests
In some cases, we might want to skip certain tests from being run by Live Unit Testing (for example long running tests or integration tests). We can do this in the Live Unit Testing window by clicking the Edit Playlist button and unchecking the tests we want to skip:

If we want to persist the skipping (or share the skipping with other developers), we can “permanently” skip tests by adding an attribute to the test method. Here is how to do it for the different test frameworks:
// XUnit:
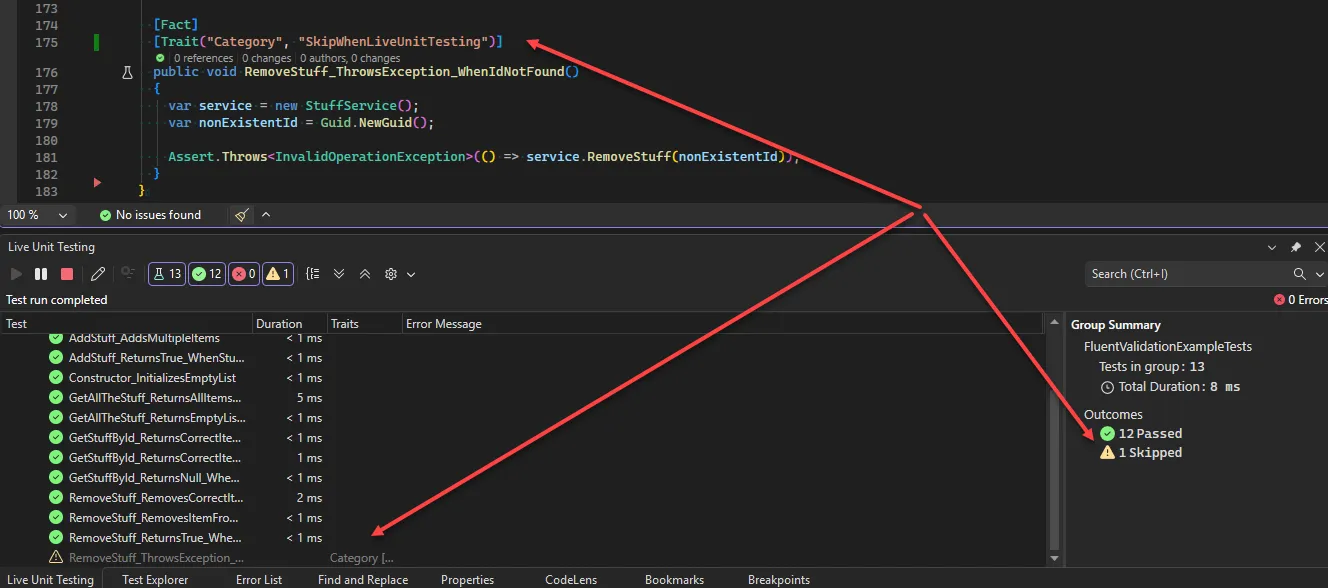
[Trait("Category", "SkipWhenLiveUnitTesting")]
// NUnit:
[Category("SkipWhenLiveUnitTesting")]
// MSTest:
[TestCategory("SkipWhenLiveUnitTesting")]As we add this to one of the tests (using XUnit in this case), we can see that Live Unit Testing automatically skips it:
If we add it to the whole class, all tests in the class will be skipped:
